Here is a step-by-step tutorial on how to make a handmade gift card holder with a matching card. Let’s get started:
Materials you will need for your gift card holder:
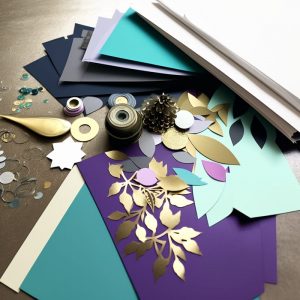
- Coloured cardstock or patterned paper
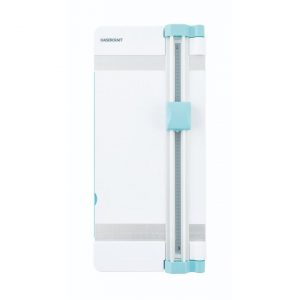
- Scissors
- Glue or double-sided tape
- Ruler
- Pencil
- Ribbon or twine (optional)
- Decorative elements like stickers, die-cuts, or stamps (optional)
Part 1: Gift Card Holder
Step 1: Measure and cut the cardstock:
- Take a piece of cardstock and measure and mark a rectangle shape. The size of the rectangle will depend on the size of the gift card you want to hold. A common size is 4 inches by 6 inches (10 cm by 15 cm).
- Use a ruler to draw straight lines and cut out the rectangle shape.
Step 2: Folding the holder:
- Place the cardstock horizontally in front of you.
- Fold the bottom edge of the cardstock about 2/3 of the way up.
- Fold the top edge of the cardstock down to meet the bottom fold, creating a pocket. Make sure the pocket is slightly taller than the gift card.
Step 3: Secure the sides:
- Apply glue or double-sided tape to the sides of the cardstock.
- Fold the sides inward to seal the edges of the pocket, ensuring that the gift card will fit snugly inside.
- Press the sides firmly to secure them in place.
Part 2: Matching Card
Step 1: Cut and fold the card base:
- Take another piece of cardstock and fold it in half to create the card base. You can choose any size you prefer, but a common size is 5 inches by 7 inches (12.5 cm by 17.5 cm).
Step 2: Decorate the front of the card:
- Use your creativity to decorate the front of the card. You can use patterned paper, stickers, stamps, or any other decorative elements you like.
- Consider creating a design that matches the theme or occasion for which the gift card is being given.
Step 3: Attach the gift card holder:
- Apply glue or double-sided tape to the back of the gift card holder.
- Carefully align the holder to the inside of the card, positioning it on the right-hand side of the card.
- Press the holder firmly to adhere it to the card base.
Step 4: Optional embellishments:
- If desired, add additional decorative embellishments to the card, such as ribbon, twine, or more stickers.
- You can tie a bow around the card to give it a finished look or add a sentiment or message using stamps or handwritten notes.
And there you have it—a handmade gift card holder with a matching card! You can personalize the design and colours according to your preferences and the occasion. Have fun creating your unique gift card holder and card combo!